
1) Stained Glass Dreidel
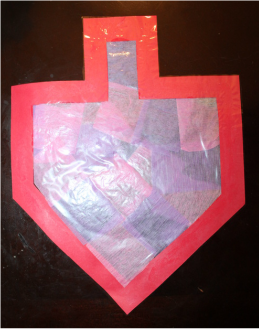
My kids loved displaying their stained glass dreidels in our kitchen window for all to see!
Supplies:
Fold the colored paper in half, cut out the shape of a dreidel, and cut out the inside leaving an inch border. Glue cellophane paper to the dreidel and trim the excess. Glue pieces of tissue paper or streamers to the cellophane.
My kids loved displaying their stained glass dreidels in our kitchen window for all to see!
Supplies:
- a colored piece of construction or cardstock paper
- cellophane paper
- tissue paper or streamers
- glue
- scissors
Fold the colored paper in half, cut out the shape of a dreidel, and cut out the inside leaving an inch border. Glue cellophane paper to the dreidel and trim the excess. Glue pieces of tissue paper or streamers to the cellophane.
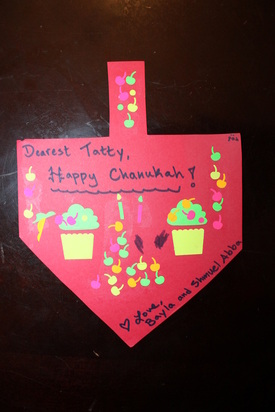
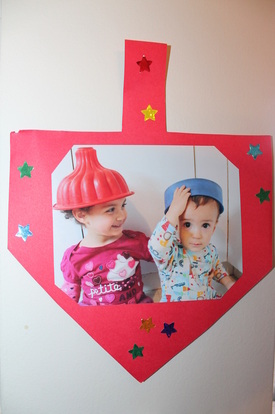
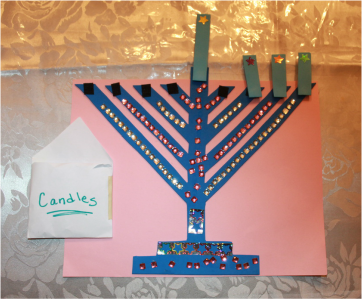
2) Chanukah Card & Decoration
We were left with the insides of the dreidel from the above project and they were the perfect pieces to make a Chanukah card and decoration.
Supplies:
- the leftover dreidel from the Stained Glass Dreidel
- stickers, pictures, and any other decorations you have on hand
- markers
| 
|
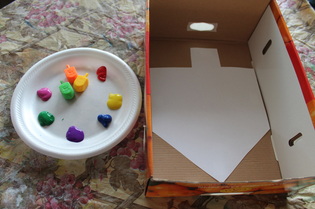
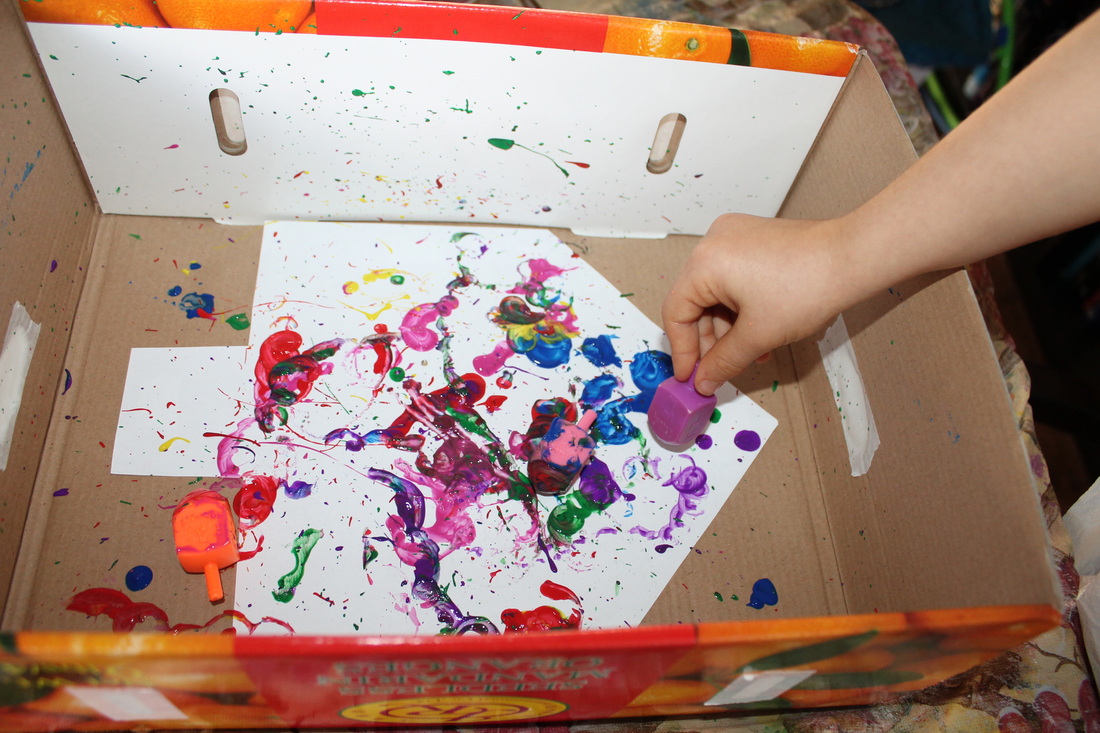
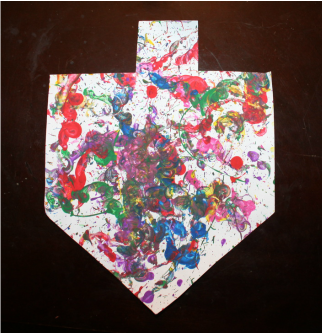
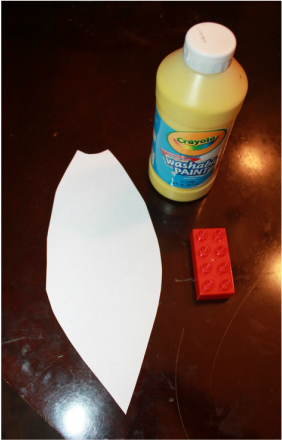
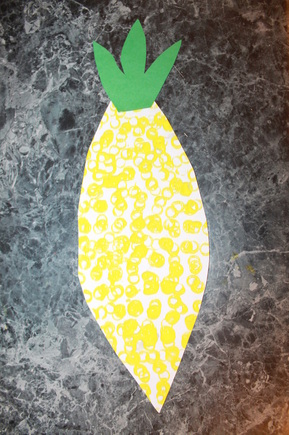
3) Dreidel Splatter Art
This project was so much fun to do. My toddler can't quite spin the dreidel just yet, so this craft is geared for preschoolers (and adults). I also enjoyed making one!
Supplies:
- piece of paper
- a box (I used a mandarin box from the produce shop we did last week)
- paint
- plastic dreidel
- scissors
Cut the piece of paper into the shape of a dreidel. Put the paper into a box to contain the mess. Dip a plastic dreidel into paint and spin it inside the box. The splatters and swirls that come off the dreidel create beautiful designs.
| 
|
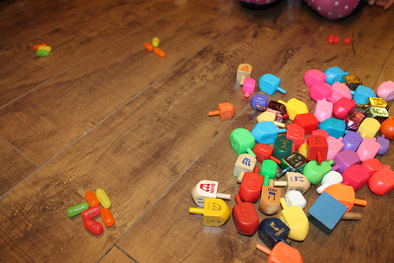
4) Play Dreidel
It would be wrong to talk about Chanukah activities and crafts without mentioning playing the game of dreidel. Our family loves playing dreidel right after lighting the menorah. There is something so special about sitting together in front of the beautiful candlelight while enjoying the timeless game of dreidel!
Supplies:
- a dreidel
- something to keep track of points (ie: marbles, chocolate chips, pennies, small candies)
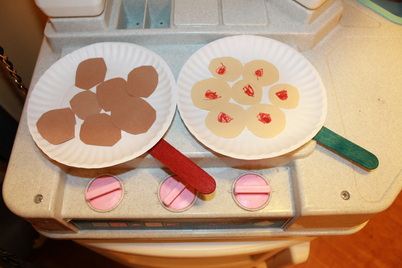
5) Latkes & Donuts Craft
This craft is very simple, yet my kids loved playing with their delicious creations in their toy kitchen. They also gave all our guests who visited over Chanukah a nibble of the goodies. My daughter made the donuts and my son made the latkes.
Supplies:
- smaller paper plate
- popsicle stick (preferably the larger size, but a standard one will work too)
- construction paper
- markers
- glue
- scissors
Color the popsicle stick and glue it to the paper plate. Cut out shapes of donuts and latkes and glue them to the pan (ergg, I mean plate).
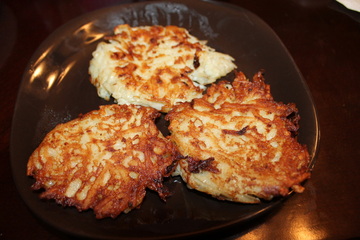
6) Make Latkes
Speaking of making play latkes and donuts, you must enjoy a savory homemade latke on Chanukah! There are a variety of recipes online to suit your taste. My husband, together with his friend, recently put out this video in their new program called The Rabbi & The Chef, which includes a wonderful latkes recipe: https://www.youtube.com/watch?v=F9hOiMjAyP0
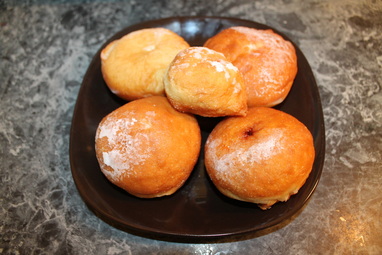
7) Make Donuts
And Chanukah would be missing some flavor without some traditional donuts, also known as sufganiot. You can find another video from The Rabbi & The Chef here with wonderful tips and a recipe for jelly donuts at https://www.youtube.com/watch?v=OJtJdqUMBF4
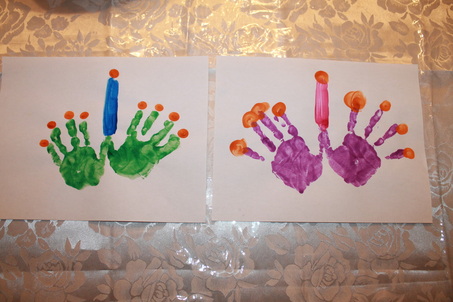
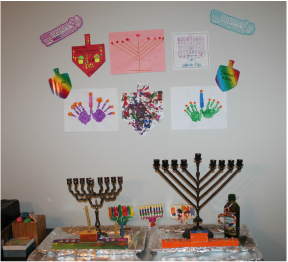
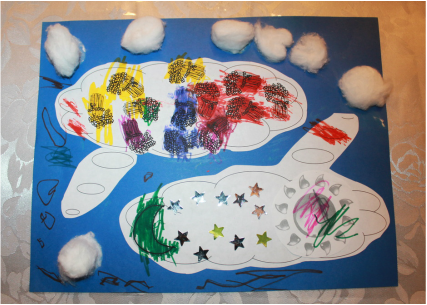
8) Hand Print Menorah
There are so many creative ways to make menorahs, we experimented with a few different mediums.
Supplies:
- 1 piece of paper
- paint
- a pair of hands
Dip your hands in paint and make a hand print on a sheet of paper with the thumbs meeting. Use your finger to draw a shamas above the thumbs, and then make dots on top of each finger as the flame.
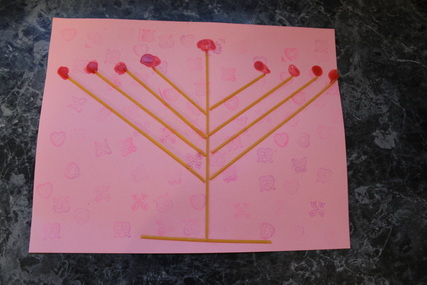
9) Spaghetti Menorah
My kids love pasta (who doesn't?), so this was the next natural step for our menorah exploration.
Supplies:
- uncooked spaghetti or linguine noodles
- glue
- paint or glue
- a piece of paper
There are several variations for this craft, depending on the age of your child. For younger children, you can draw a menorah and pre-cut the pasta strands to be the appropriate sizes, and the children can glue them on. For older children, they can do these steps themselves. I didn't trace a menorah outline for my daughter, as she wanted to do everything by herself. Through trial and error, she carefully broke off the excess pieces from the spaghetti so each branch would fit nicely, and then glued them on. She dabbed her finger in paint for the flames, but you can use markers if you prefer. My daughter also wanted to decorate the page with stamps before assembling the menorah. I had a menorah on the table, so she could visually see what she was creating and make adjustments as necessary. She then took the extra pieces and came up with a "mock menorah lighting" so she could practice the blessings before Chanukah arrived. I love when children come up with their own creative activities!
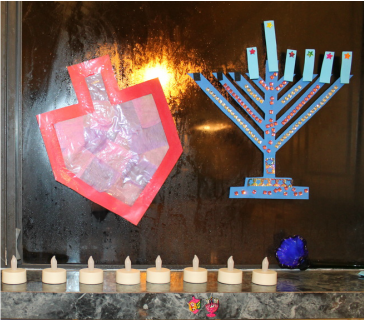
10) Foam Menorah
This is more of an activity than a craft. Or rather, it is a craft for the parents and an activity for the children. Because cutting through foam sheets requires sharp scissors, I recommend the parents do the involved cutting.
Supplies:
- sheets of foam (can be purchases at any craft store or Walmart)
- velcro
- stickers
- scissors
Draw and then cut the shape of a menorah on a sheet of foam. Then cut out 8 rectangles to use as candles from a different color sheet of foam, and 1 more longer rectangle that will be the shamash. Children can then decorate the menorah and candles with stickers. Put a piece of velcro at the top of each branch of the menorah and a matching piece on the back of each candle. At first we glued down the menorah to a paper, but we took it off and taped it directly to our front window so that everyone could see it. My kids enjoy adding a candle to the menorah each night after we light the "real" menorah.
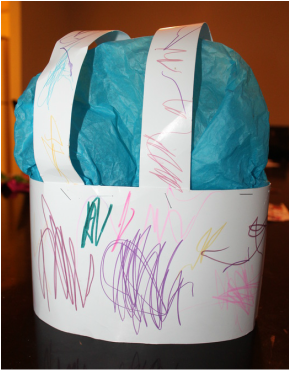
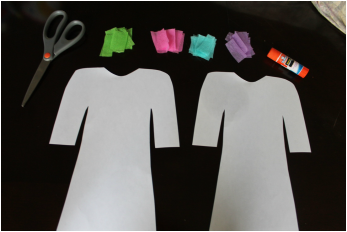
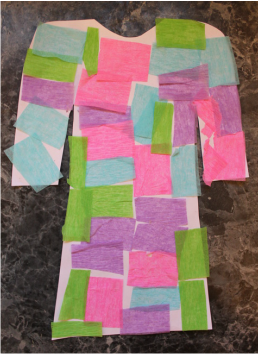
11) Cohen's Hat
We actually made this last year as a parsha craft, and while we don't save many of our crafts, this is one that was added to my kids dress up chest. My kids enjoyed acting out scenes from the Beis Hamikdash, as if they were the Cohen Gadol, the high priest, especially in the menorah lighting ceremony.
Supplies:
- cardstock paper
- tissue paper
- stapler and/or tape
- markers
Cut out a thick band to go across your child's head, measure the fit and staple or take to close. Cut out two thin pieces to attach to the top of the hat. Inside of those, attach the tissue paper.
12) Olive Press Workshop
This is one community program you don't want to miss. Most cities have this annual program either before or during Chanukah and it's a fantastic hands on opportunity for children to see live and up close how exactly olive oil is made. We attended one that was put on by Rabbi Yechiel Baitelman of Chabad of Richmond and both of my children were spellbound. Between the press machine and the centrifuge, there was never a dull moment.

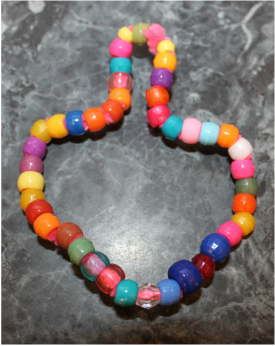
13) Dreidel Topper
Speaking of oil, this is a great accessory to hang on your bottle of olive oil, if that is what you use to light the menorah. Alternatively, you can hang up as a decoration anywhere you please.
Supplies:
- pipe cleaner
- beads
- ribbon
| 
|
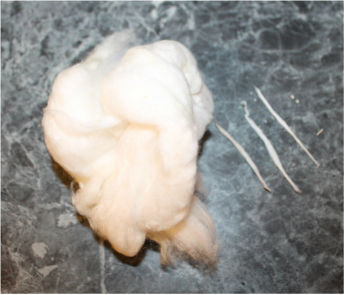
14) Rolling Cotton Wicks
There are many options these days for supplies to light the menorah. Our family enjoys using the age old traditional method of olive oil and cotton wicks. Sure, you can buy pre-made cotton wicks, but that would take away one step of fun. This is a perfect hands on activity for tiny little fingers. It is wonderful for working on fine motor skills. My 4 year old daughter enjoys getting the menorah ready with me in the late afternoon. She rolls the most perfect wicks and is so proud when she tells her father upon his arrival home from work that the menorahs are ready! Even if you don't use olive oil for candles, children love trying this fun experience.
Supplies:
- 100% cotton balls (not the synthetic ones)
Break off a small piece from the cotton ball and roll it between both hands until it's very thin (you may need to stretch it). When lighting with these, be sure to dip them completely in the olive oil.
15) Wax candles
Another great hands on experience!
Supplies:
Place the wick along the inner edge of the sheet of wax and roll tightly outwards. If you do not have enough supplies to use these for all the candles or if you are using oil, these are great for the shamash candle.
Another great hands on experience!
Supplies:
- sheets of wax
- strings of cotton wicks
Place the wick along the inner edge of the sheet of wax and roll tightly outwards. If you do not have enough supplies to use these for all the candles or if you are using oil, these are great for the shamash candle.

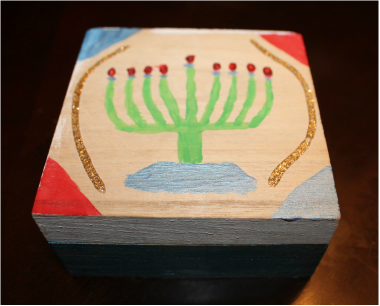
16) Candles or Wicks Box
Has this ever happened to you where your entire family is gathered around the menorah, you have everything ready, except for one item? Happens to me all the time, and not just when it comes to lighting the menorah. This box is handy for storing candles or cotton wicks. Being that my birthday is on Chanukah, my husband decorated this beautiful wooden box one year as a gift. It can also be used to store dreidels or any other items you'd like to keep nearby.
Supplies:
- a small wooden box (can be purchased at the dollar store)
- paint
The instructions for this one are pretty self-explanatory: paint the wooden box. Yup, that's it. And then find a special place to display it.
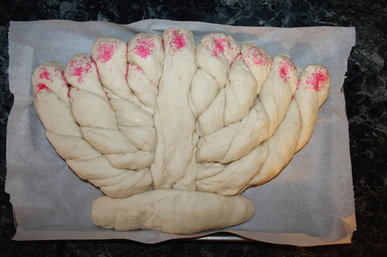
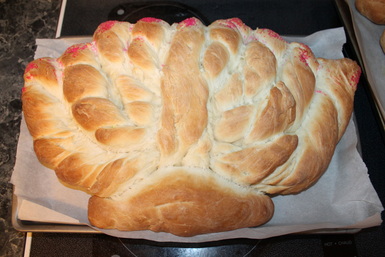
17) Menorah Challah
A festive challah shaping special for Chanukah! On the top is a picture before the dough is baked, and below it is the finished product. We all enjoyed eating the delicious challah on Friday night, the fourth night of Chanukah.
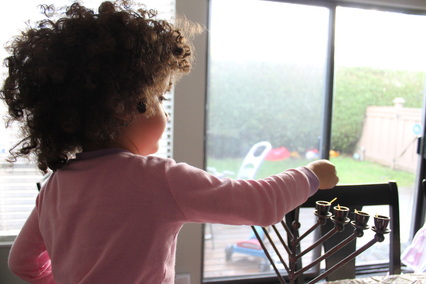
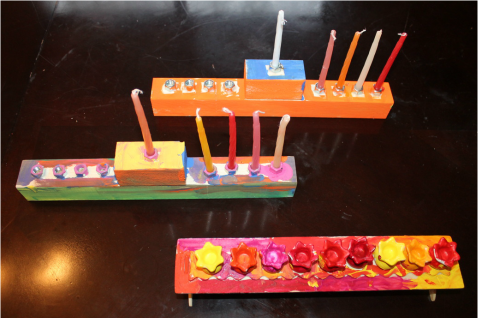
18) Build a Menorah
The Home Depot as teamed up with a variety of Chabad Houses in Canada and the United States, where families are invited to build menorahs. My children made the top two menorahs in the picture below this year at Home Depot through a wonderful program put on by Chabad of Richmond. My daughter made the bottom menorah last year at the Jewish Community Centre of Greater Vancouver, and she keeps it in her room and stores her mini accessories (ie: rings, hair ties, etc) inside the cups.
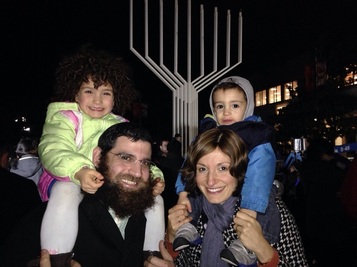
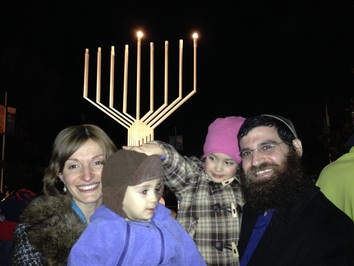
19) Attend a Public Menorah Lighting
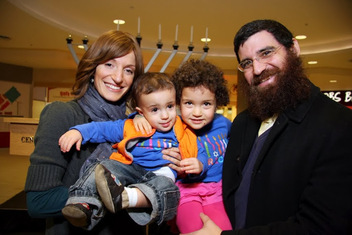
These are such fun programs for both children and adults. Such a wonderful way to show Jewish pride and unity. From top to bottom, the following pictures are from the Kollel Menorah Lighting outside the Richmond Public Library this year, followed by a picture from last year, and the Center for Judaism Menorah Lighting at the Semiahmoo Mall last year. As you can see, all four of us are having a wonderful time!
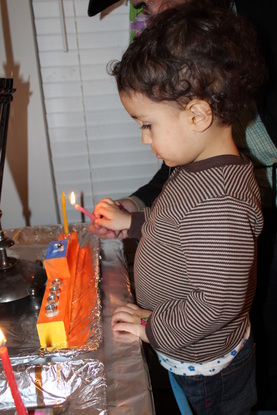
20) Light Menorah at Home
This list would be incomplete without this final activity, lighting menorah surrounded by family and friends.
This list would be incomplete without this final activity, lighting menorah surrounded by family and friends.
| 
|


 RSS Feed
