
PREFACE: You will notice that this post is not yet 100% complete, as many of the projects are currently in progress. But I wanted to give those who would like to do some of these crafts with their children over the next two weeks a heads up, as posting the day before Pesach would be of little use :)
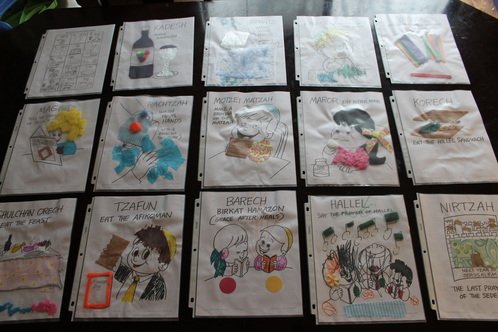
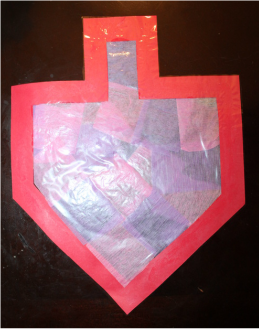
1) Touch & Feel Hagaddah
My children actually made this last year and they loved using it during the seder because 1) it was their own creation, and 2) it brought an exciting sensory aspect to the hagadah. I downloaded the template from www.chinuch.org, a wonderful resource of projects, and we used a variety of crafting materials and supplies from around our homes to decorate each page. I put each page into a slip cover, to keep all the glitter glory, poofies, and googly eyes contained, and the kids took them out at each stage of the seder and enjoyed walking around and inviting guests to look and feel their artwork. We stuck all the contents into a binder, which they decorated a cover for.
My children actually made this last year and they loved using it during the seder because 1) it was their own creation, and 2) it brought an exciting sensory aspect to the hagadah. I downloaded the template from www.chinuch.org, a wonderful resource of projects, and we used a variety of crafting materials and supplies from around our homes to decorate each page. I put each page into a slip cover, to keep all the glitter glory, poofies, and googly eyes contained, and the kids took them out at each stage of the seder and enjoyed walking around and inviting guests to look and feel their artwork. We stuck all the contents into a binder, which they decorated a cover for.
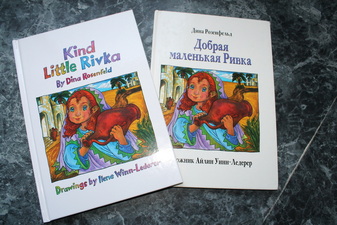
2) Books Galore!
PJ Library, book stores, library.
PJ Library, book stores, library.
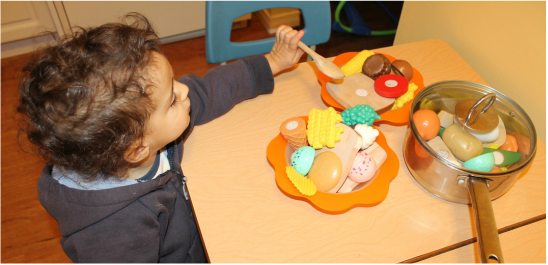
3) Model Matzah Bakery
Many Chabad Shuls around the world the world are running a model matzah bakery the weeks leading up to Pesach. We attend each and every year, and it never gets old, my kids love it!
Many Chabad Shuls around the world the world are running a model matzah bakery the weeks leading up to Pesach. We attend each and every year, and it never gets old, my kids love it!
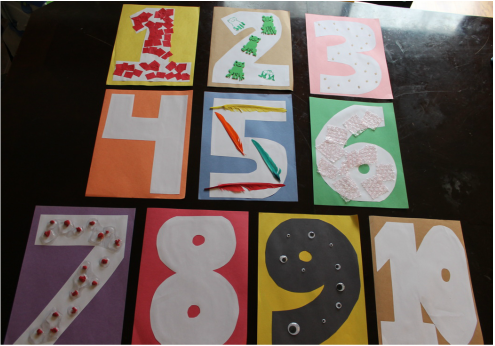
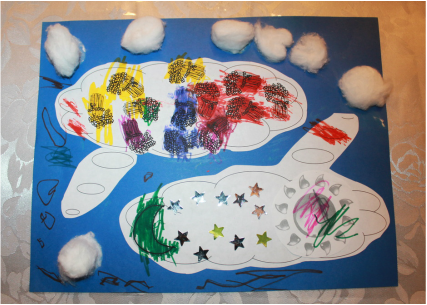
4) Ten Plagues Booklet
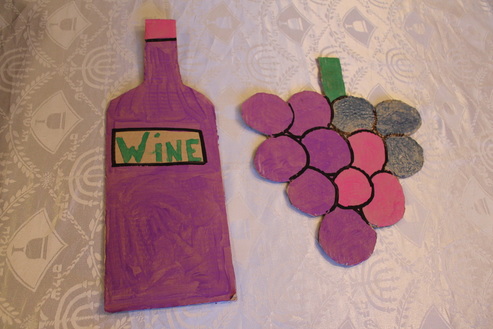
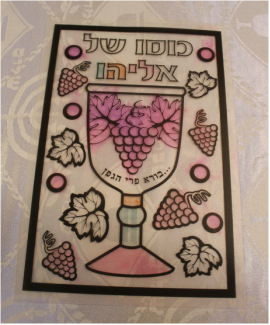
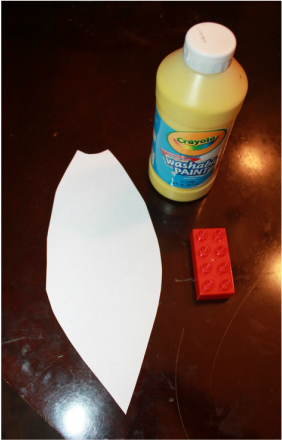
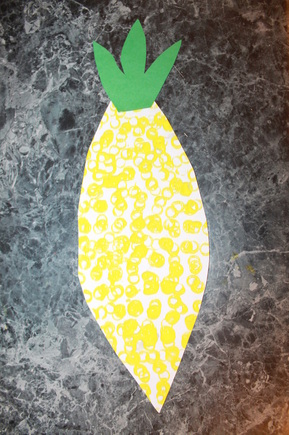
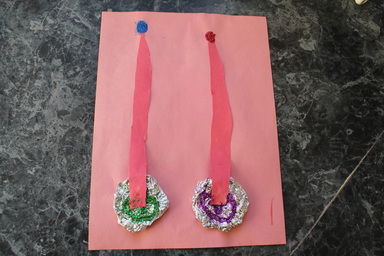
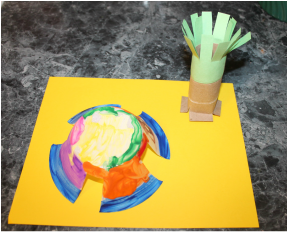
5) Giant Wine Bottle & Grapes
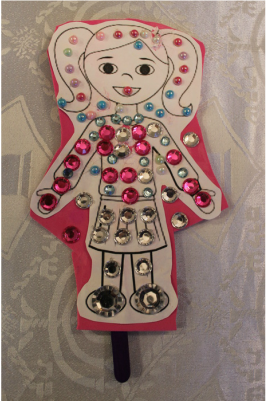
6) Miriam Saves the Day Puppet
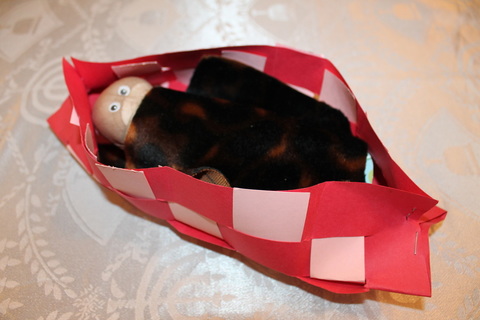
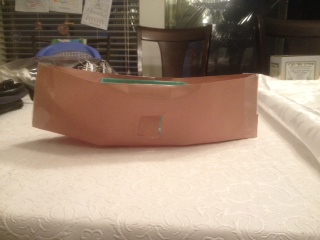
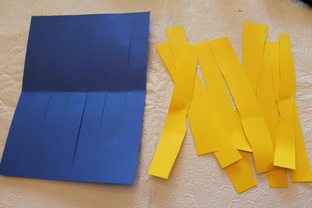
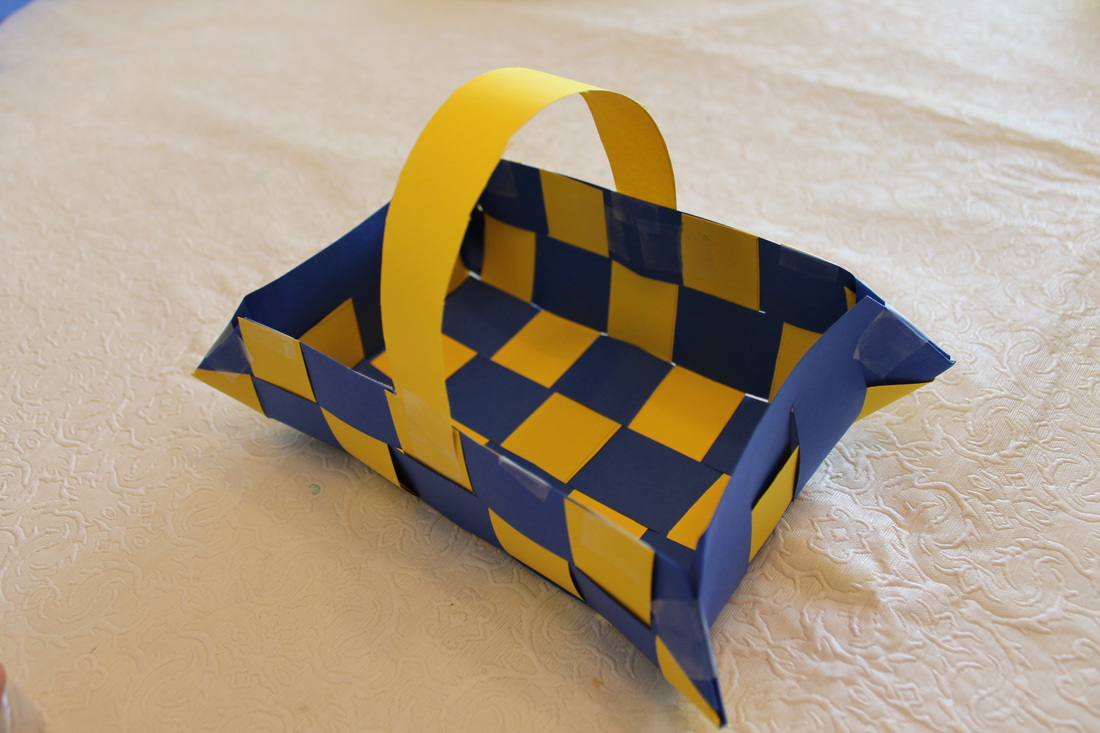
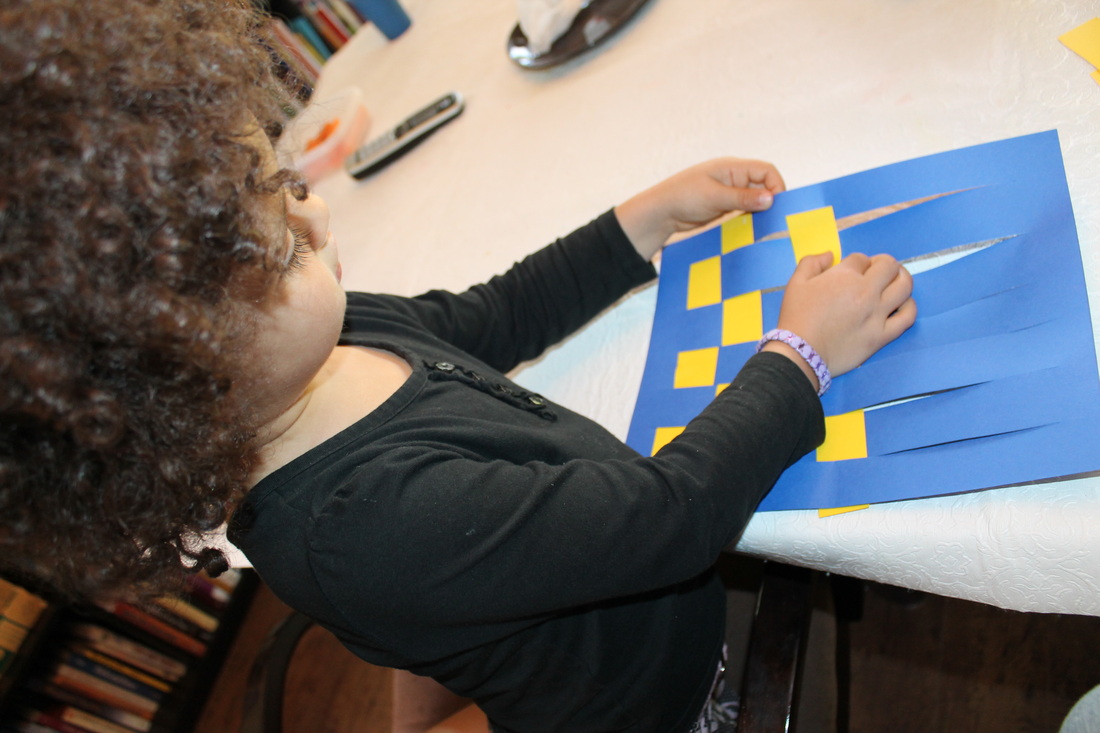
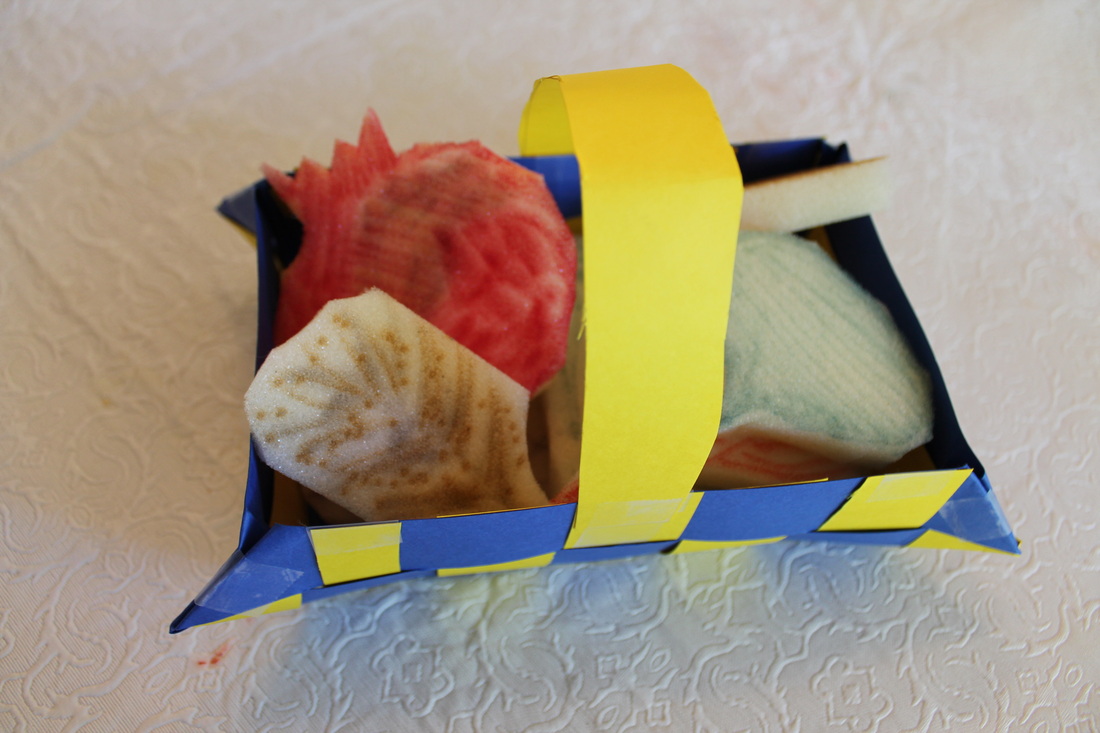
7) Baby Moses in a Basket
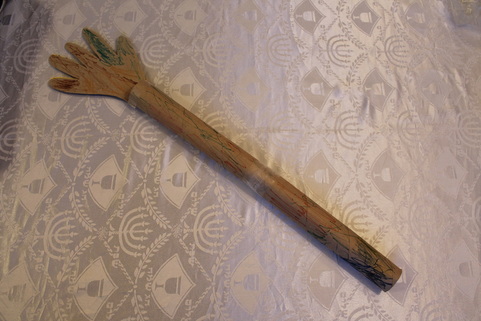
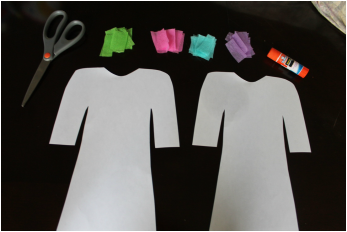
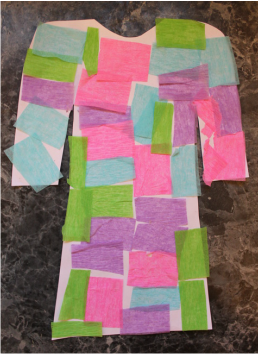
8) Batya's Outstretched Arm
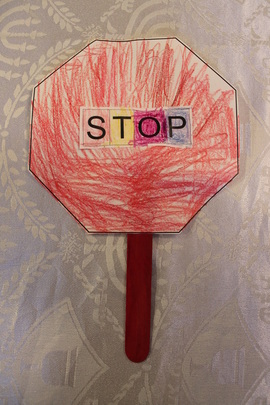
9) Pharoah's Stop Sign: No No No, I Will Not Let You Go!
10) Coloring Pages
11) Multimedia Resources
There are many great Passover music and video clips on websites such as:
chabad.org
aish.com
youtube.com
There are also a variety of apps for the phone that include: recipes, menus, songs, videos, kids games, learning mah nishtana.
There are many great Passover music and video clips on websites such as:
chabad.org
aish.com
youtube.com
There are also a variety of apps for the phone that include: recipes, menus, songs, videos, kids games, learning mah nishtana.
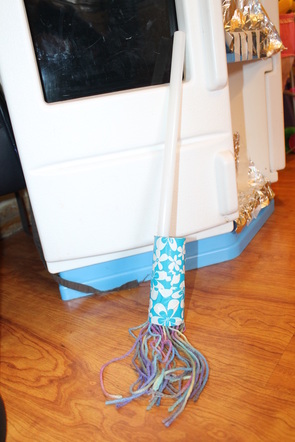
12) Broom for Pesach Cleaning
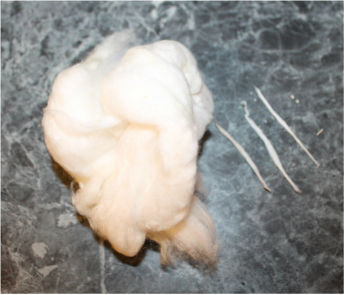
13) Searching for Chametz Supplies Baggie
Unfortunately, I don't have a picture of this, but your child can make a special baggie that includes the items used on the night before Pesach to search for chametz. The project can include: a paper baggie (decorated with marker of course), 10 balls of tinfoil (symbolizing the 10 pieces of chametz involved in the search), a candle (or flash light), a feather, and a wooden spoon.
Unfortunately, I don't have a picture of this, but your child can make a special baggie that includes the items used on the night before Pesach to search for chametz. The project can include: a paper baggie (decorated with marker of course), 10 balls of tinfoil (symbolizing the 10 pieces of chametz involved in the search), a candle (or flash light), a feather, and a wooden spoon.
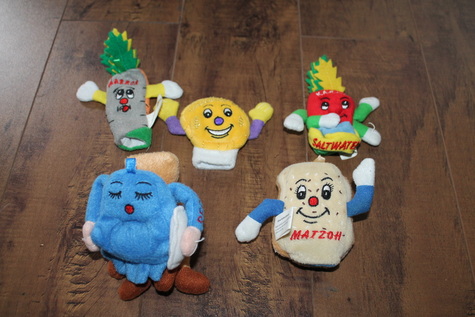
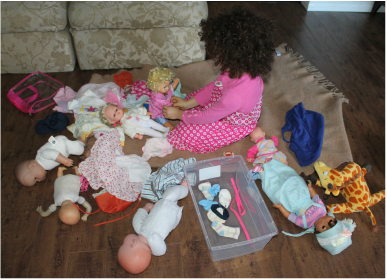
14) Playing with Puppets
15) Mah Nishtana
My children love singing the Mah Nishtana at the seder. For children who are pre-speaking age, you can teach them the actions to each of the phrases. For children who love to sing, you can start reviewing several weeks before Passover. There is also a phone app called "Passover" put out by chabad.org that helps the kids review Mah Nishtana line by line. My daughter especially loves reading a book called "The Littlest Levine" by Sandy Lanton about a little girl who doesn't like being so little, but she has a wonderful opportunity to shine come Passover.
My children love singing the Mah Nishtana at the seder. For children who are pre-speaking age, you can teach them the actions to each of the phrases. For children who love to sing, you can start reviewing several weeks before Passover. There is also a phone app called "Passover" put out by chabad.org that helps the kids review Mah Nishtana line by line. My daughter especially loves reading a book called "The Littlest Levine" by Sandy Lanton about a little girl who doesn't like being so little, but she has a wonderful opportunity to shine come Passover.

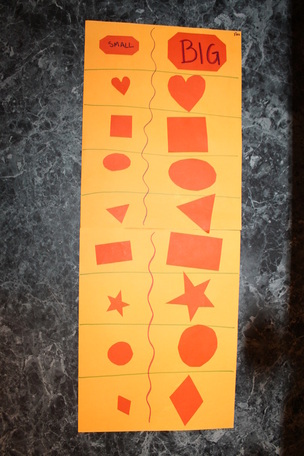
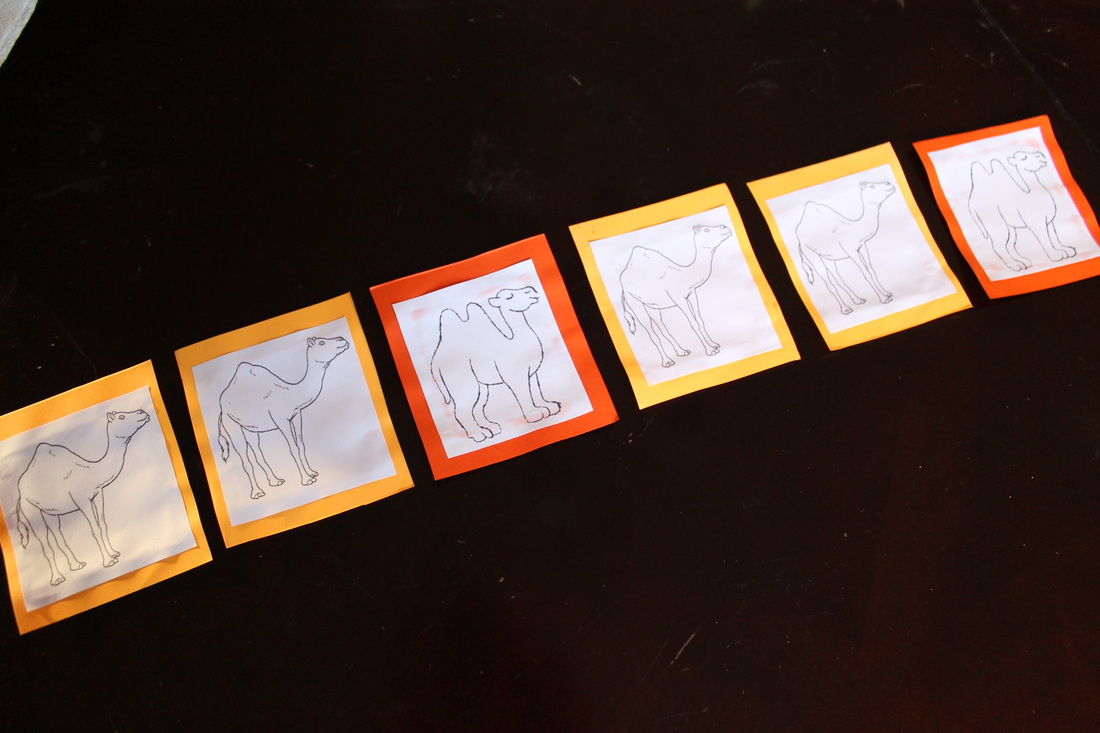
16) Free Activity Packs for Kids
There is a fantastic website called Jewish Homeschool Blog (www.jewishhomeschool.blogspot.com) that has a wealth of crafts and activities year round! The Pesach Activity pack in particular is fantastic, it involves shape tracing, crosswords, coloring pages, find the difference pictures, etc. I filled a binder with several different printables from this website, and my daughter enjoyed working on them during some downtime leading up to Pesach.
There is a fantastic website called Jewish Homeschool Blog (www.jewishhomeschool.blogspot.com) that has a wealth of crafts and activities year round! The Pesach Activity pack in particular is fantastic, it involves shape tracing, crosswords, coloring pages, find the difference pictures, etc. I filled a binder with several different printables from this website, and my daughter enjoyed working on them during some downtime leading up to Pesach.
17) Wine Bottle Toppers
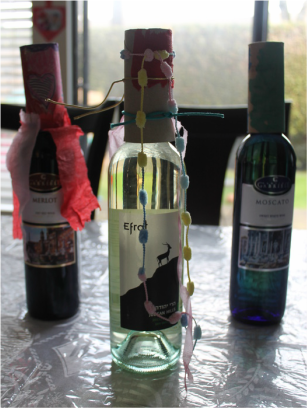
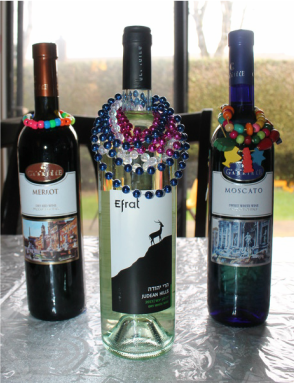
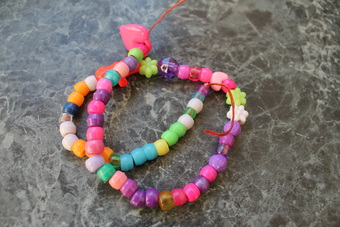
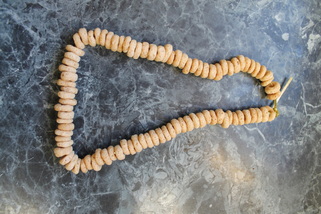
18) Wine Bottle Beading
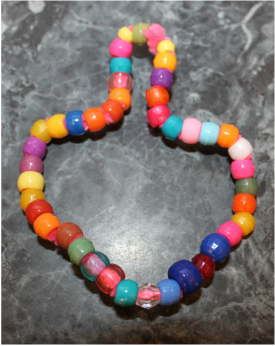
My kids made some necklaces with their collection of beads and wound them around the wine bottles for a nice festive look. If you don't have beads at home or are short on time, you can use beaded necklaces. We have a variety of those and my daughter loved making different color combinations on the bottles.
My kids made some necklaces with their collection of beads and wound them around the wine bottles for a nice festive look. If you don't have beads at home or are short on time, you can use beaded necklaces. We have a variety of those and my daughter loved making different color combinations on the bottles.
19) Pesach Seder Songs
Children love being able to sing along and participate in the seder, they feel so good when they know the songs. We started singing several of the popular songs at the Shabbos table leading up to Pesach. You can also make a CD of the various songs you sing at your seder, ranging from dayenu through to chad gadya, and play it in the car, so your kids can become familiar with the tunes and words.
Children love being able to sing along and participate in the seder, they feel so good when they know the songs. We started singing several of the popular songs at the Shabbos table leading up to Pesach. You can also make a CD of the various songs you sing at your seder, ranging from dayenu through to chad gadya, and play it in the car, so your kids can become familiar with the tunes and words.
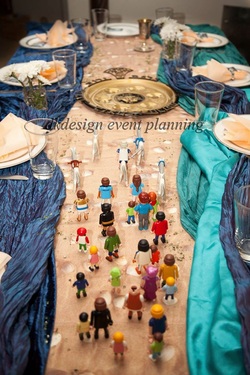
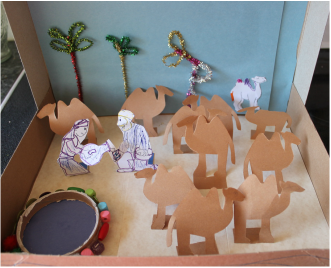
20) Crossing the Red Sea: A Fun Table Runner
We will be making a fun table runner once our home is cleaned and the food is prepared (priorities, right?). I have had this idea for a few years now, and decided this was the year! I would love to share a beautiful table setting I came across yesterday by a very creative Event Planner from Israel, Daphna Kaminetsky. Be sure to check out more of her work at https://www.facebook.com/dkdesign2006
We will be making a fun table runner once our home is cleaned and the food is prepared (priorities, right?). I have had this idea for a few years now, and decided this was the year! I would love to share a beautiful table setting I came across yesterday by a very creative Event Planner from Israel, Daphna Kaminetsky. Be sure to check out more of her work at https://www.facebook.com/dkdesign2006
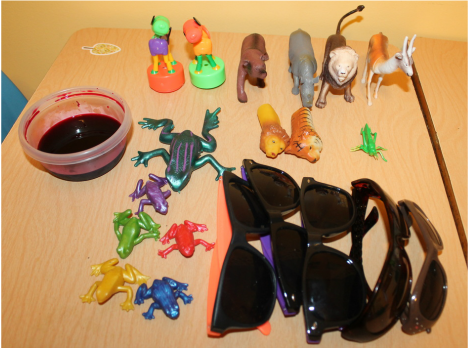
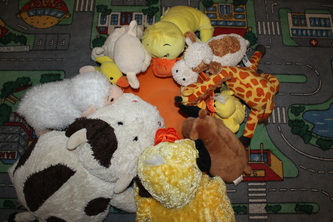
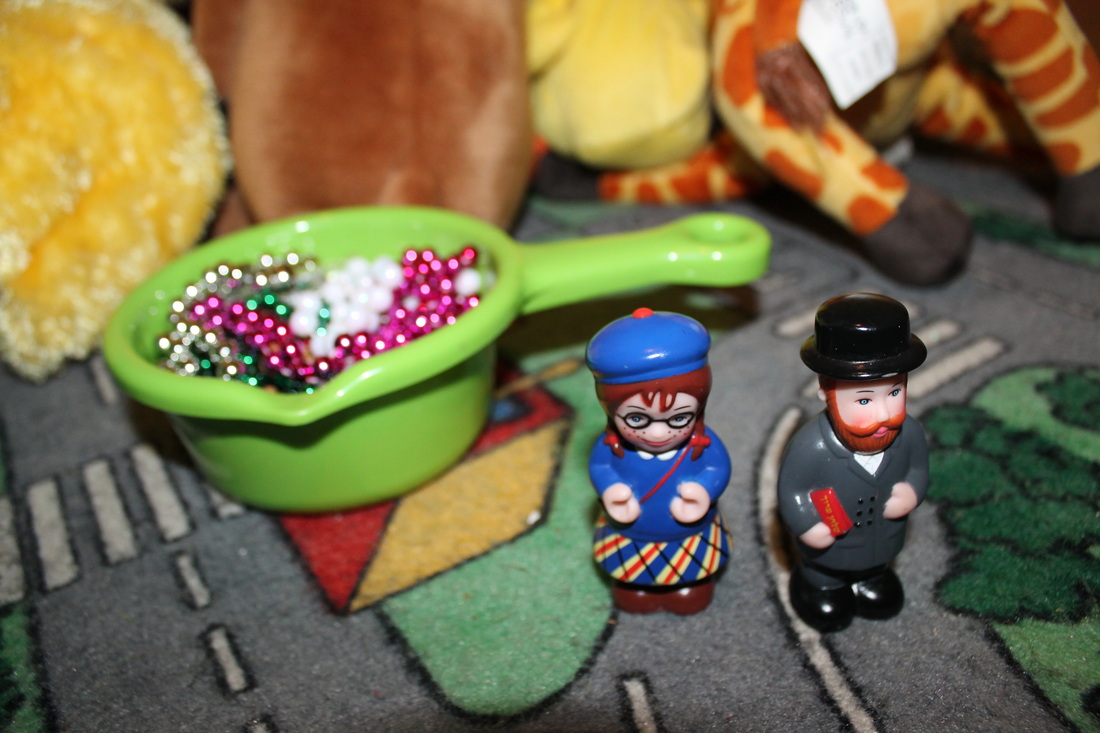
21) Props for the Seder
We have a grab bag of a variety of toys and props, including squishy frogs, stuffed animals, balls, etc - to represent the various plagues. It brings a lot of fun and excitement, especially for young children (as well as adults who are young at heart). Each year we add something new to the bag, this year we included a special surprise, my youngest couldn't believe that the water turned to blood right at our table when we got to the first plague, while my oldest immediately guessed that it was beet juice.
We have a grab bag of a variety of toys and props, including squishy frogs, stuffed animals, balls, etc - to represent the various plagues. It brings a lot of fun and excitement, especially for young children (as well as adults who are young at heart). Each year we add something new to the bag, this year we included a special surprise, my youngest couldn't believe that the water turned to blood right at our table when we got to the first plague, while my oldest immediately guessed that it was beet juice.
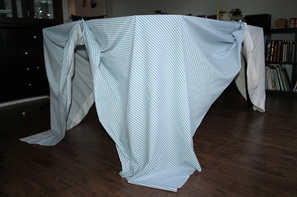
22) Mock Seder
23) Lego Pyramids
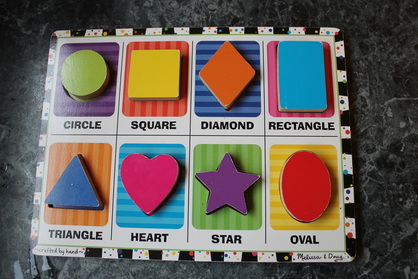
24) Pesach Puzzles
25) Afikoman Bag
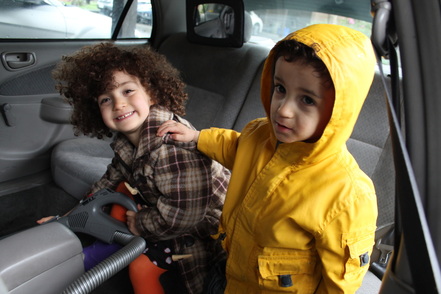
26) Cleaning the Car
No, I'm not joking. My children look forward to this activity each and every year (shhhh, you heard correctly, we only do a major clean of our car once a year). If it weren't for Pesach, it would happen even less frequently. My kids come equipped with rags, a spray bottle, the vacuum, and some q-tips and get the car spic and span in no time. As my daughter was finishing up, she called my husband and me over, "look how beautiful we made the car!"
No, I'm not joking. My children look forward to this activity each and every year (shhhh, you heard correctly, we only do a major clean of our car once a year). If it weren't for Pesach, it would happen even less frequently. My kids come equipped with rags, a spray bottle, the vacuum, and some q-tips and get the car spic and span in no time. As my daughter was finishing up, she called my husband and me over, "look how beautiful we made the car!"
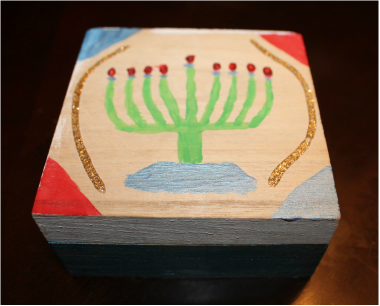
27) Personalized Seder Cup
28) Leaning Pillow
29) Pesach Puzzles
My children really enjoy puzzles. My 4 year old enjoys the large piece puzzles that end up 3 by 3 feet or so. She's also starting to get into more intricate puzzles. My 2 year old loves the wooden chunky puzzles. There are a variety of manufacturers that put out some great puzzles of the seder plate, matzah & wine, 10 Plagues, etc.
My children really enjoy puzzles. My 4 year old enjoys the large piece puzzles that end up 3 by 3 feet or so. She's also starting to get into more intricate puzzles. My 2 year old loves the wooden chunky puzzles. There are a variety of manufacturers that put out some great puzzles of the seder plate, matzah & wine, 10 Plagues, etc.
30) Cleaning and Organizing
I mentioned cleaning the car above, however I have discovered over the past week that my kids are really enthusiastic about all cleaning. Although it's not specifically Pesach cleaning, my daughter also loves re-organizing everything that's hers and putting her own systems into place, whether it be her desk, closet, drawers, etc. So while I'm vacuuming their room (after my toddler has his turn of course), she enjoys arranging her toys. Also, I've given my kids the broom and dust pan, a damp cloth, the swiffer, and they get right down to business. Couldn't resist sharing a joke my husband made while we were both cleaning our kitchen last night. "We, the Jewish people, did a big service to the world, we are the originators of spring cleaning."
I mentioned cleaning the car above, however I have discovered over the past week that my kids are really enthusiastic about all cleaning. Although it's not specifically Pesach cleaning, my daughter also loves re-organizing everything that's hers and putting her own systems into place, whether it be her desk, closet, drawers, etc. So while I'm vacuuming their room (after my toddler has his turn of course), she enjoys arranging her toys. Also, I've given my kids the broom and dust pan, a damp cloth, the swiffer, and they get right down to business. Couldn't resist sharing a joke my husband made while we were both cleaning our kitchen last night. "We, the Jewish people, did a big service to the world, we are the originators of spring cleaning."


 RSS Feed
